

1. Choosing the Wrong Veneer for the Job
Not all timber veneers are created equal. Different species, cuts, and grades offer varied tones, grains, and durability levels, so choosing the wrong one can throw off your whole design or lead to premature wear.
Pro Tip: Always choose your veneer based on the application. Use durable species like oak or walnut for high-traffic zones, and opt for finer, decorative grains for feature panels or furniture. Don’t forget to consider the space’s lighting, humidity, and usage when selecting the finish.
2. Skipping Proper Surface Prep
Poor surface preparation is one of the biggest causes of veneer failure. If the substrate isn’t perfectly flat, clean, and dry, your veneer won’t bond properly, and you risk bubbles, peeling, or warping.
Pro Tip: Before application, sand the surface thoroughly and make sure it’s free from dust, oils, or moisture. Any surface flaws will telegraph through the veneer, so take the time to get it right from the start.
3. Using the Wrong Adhesive
Not all glues work with all veneers. Using the wrong adhesive can result in a weak bond, bubbling, or material failure over time.
Pro Tip: Use an adhesive that’s specifically designed for timber veneers, like a quality contact adhesive or cold press glue. Check the product specs and follow the application and curing instructions to the letter.
4. Ignoring Expansion and Contraction
Veneer is still timber at its core, and like any natural wood product, it expands and contracts with humidity and temperature shifts. Failing to allow for movement can cause splitting or edge separation.
Pro Tip: Leave small gaps at joins and edges to accommodate seasonal movement, especially in high-humidity zones like bathrooms or coastal properties.
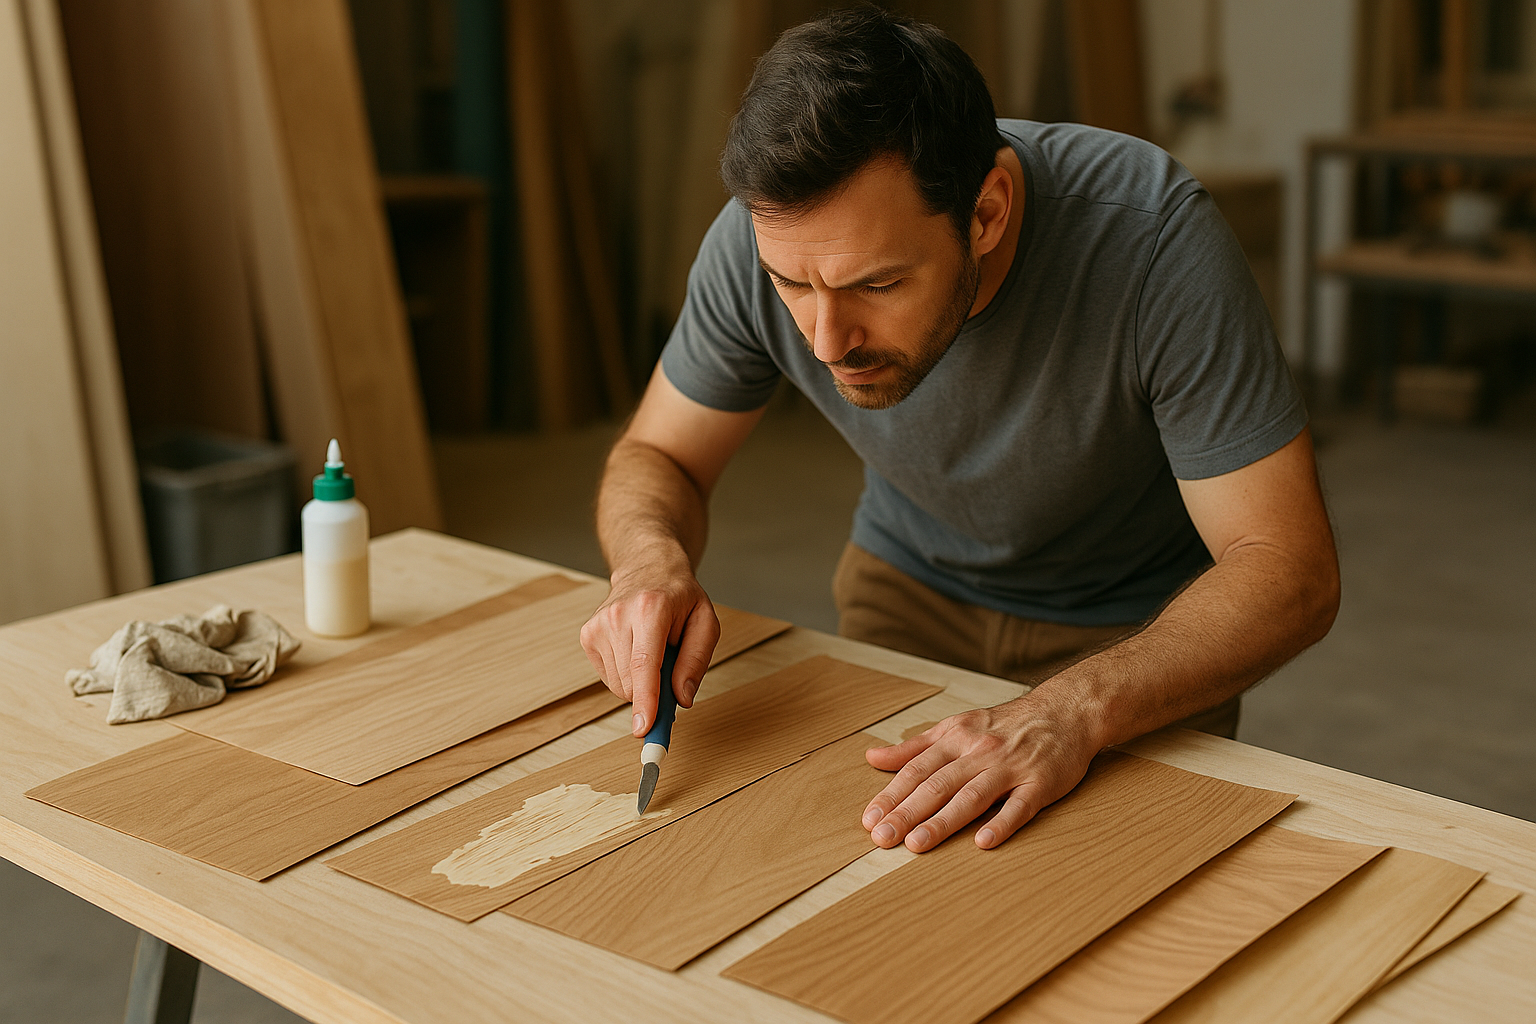
5. Inaccurate Cutting and Trimming
Veneer cutting requires precision. A crooked or rough edge can quickly ruin the visual impact of the finished surface and waste expensive material.
Pro Tip: Use a sharp utility knife or dedicated veneer cutter, and measure everything twice before cutting. For detailed shapes or curved cuts, use a fine-tooth jigsaw blade. Always cut on a stable surface with a straightedge or guide to keep everything clean and square.
6. Ignoring Grain Direction and Pattern Matching
Grain misalignment can make a finished piece look disjointed or visually “off,” especially on large or prominent panels.
Pro Tip: Lay out your veneer sheets beforehand and dry-fit them to see how the grains flow together. Align grain direction across joins for a seamless, high-end finish. Bookmatching or slipmatching can create a visually stunning effect when done right.
7. Not Applying Enough Pressure During Bonding
A weak bond or air pockets in the veneer are often caused by uneven pressure during installation.
Pro Tip: Use a veneer press, vacuum press, or clamps to apply consistent pressure across the full surface. This ensures a strong bond and reduces the risk of bubbling or separation.
8. Skipping the Finish
Raw veneer is porous and vulnerable to damage if left unsealed. It can absorb moisture, stain easily, or fade with sunlight exposure.
Pro Tip: Always finish your veneer with a clear sealant, lacquer, or timber oil. The right finish protects the surface, enhances the grain, and boosts longevity.
9. Overlooking Maintenance
Even professionally installed veneer will degrade without proper care. Moisture, sunlight, and abrasive cleaners can all take a toll over time.
Pro Tip: Clean with a soft cloth and avoid harsh chemicals. Reapply finish as needed, especially in high-use areas. A little upkeep will keep veneer looking fresh for years.
10. Poor Storage Before Installation
Incorrect storage before installation can warp or crack veneer sheets, especially if exposed to moisture or direct sunlight.
Pro Tip: Store veneer flat in a cool, dry area, and allow it to acclimate to the room’s humidity before installation. Avoid stacking sheets vertically or in direct contact with concrete floors or damp surfaces.
Give Your Timber Veneer Projects the Best Chance of Success
Getting timber veneer right comes down to the details—choosing the right species, prepping the surface correctly, cutting cleanly, and using the right tools and adhesives. With a bit of care and attention, you can avoid the common pitfalls that turn a great design into a costly mistake.
Whether you're a seasoned builder, cabinetmaker, or designer, sticking to these best practices will help you deliver a high-quality finish that lasts. For premium timber veneer products, expert advice, and fast nationwide delivery, explore the range at Bord Products.
Need guidance on your next project? Contact our team or visit our resources page for more helpful tips.


Explore Bord Products
Our Melbourne facility produces hundreds of veneer and laminate panels daily, giving us total control over timeframes and quality.

Visit Our Showroom
Get expert advice on material selection for your project and see our entire range of veneers and laminates in person.

Specify Sustainable
We support sustainable forest management in Australia and across the globe. Look out for certified products on our website or speak to us.