

What Is Timber Veneer?
Timber veneer is a thin layer of real wood, usually around 0.3mm to 2.5mm thick, bonded to a stable substrate like plywood or MDF. It offers the warmth and character of solid timber but with added flexibility and affordability.
You’ll find it across a wide range of projects, from kitchen cupboards and bathroom vanities to wardrobe doors, boardroom tables, and architectural wall linings. Available in a broad selection of timber species, colours, and grains, timber veneer opens the door to endless design possibilities.
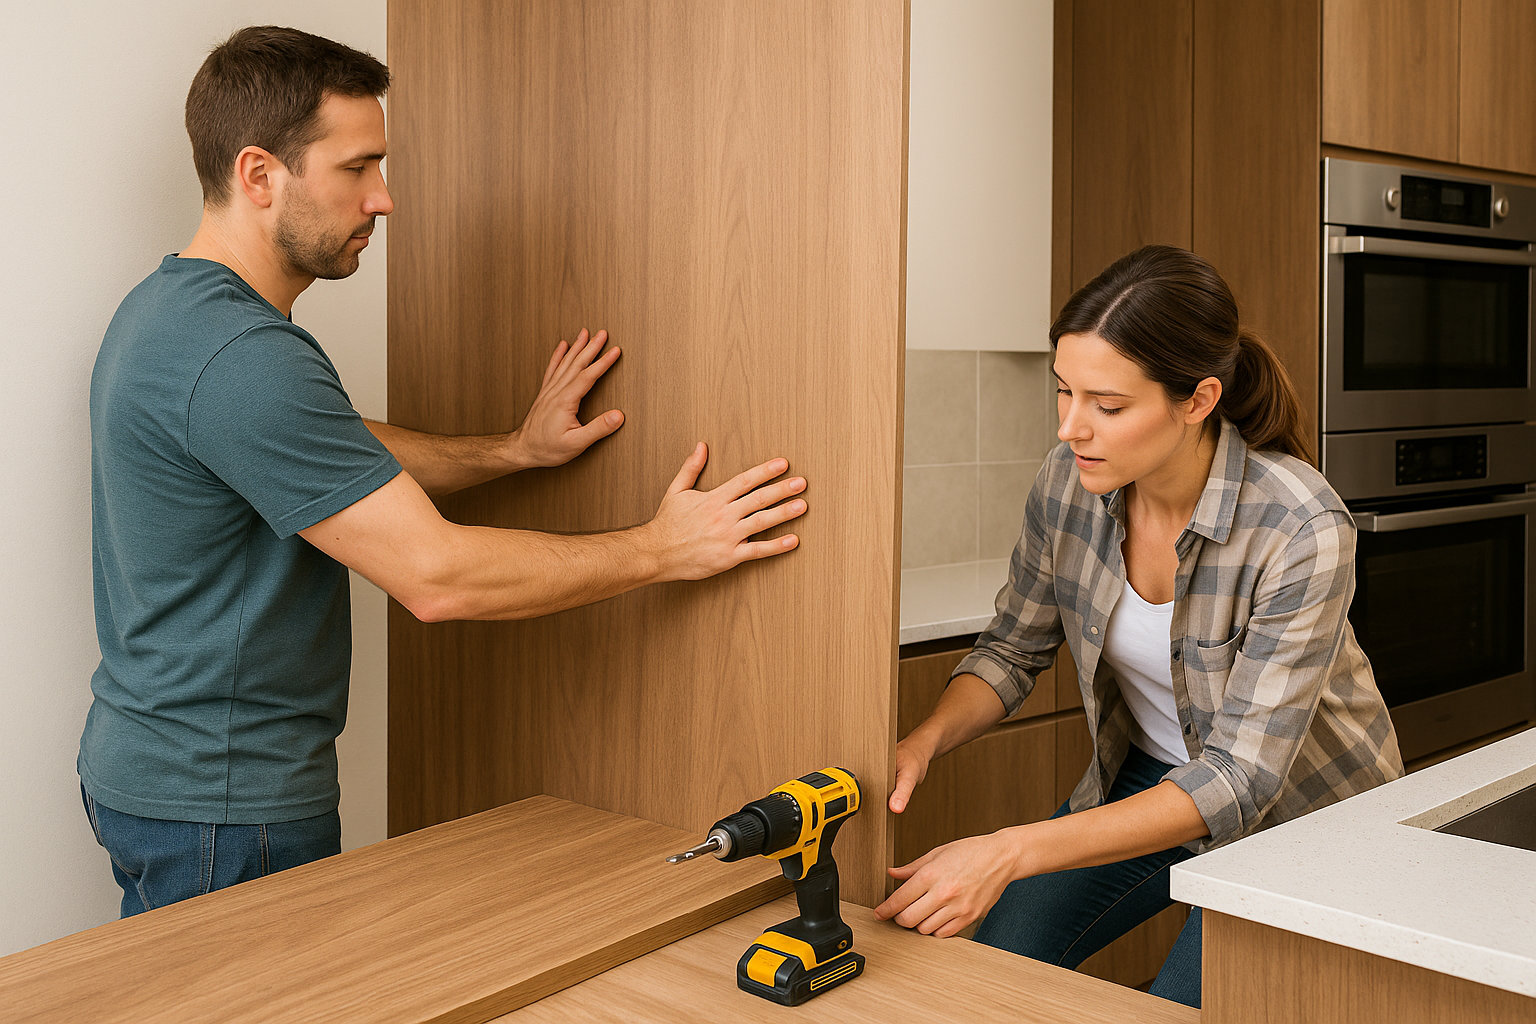
The Upside of DIY Timber Veneer Installation
1. Budget-Friendly
One of the biggest reasons people opt for DIY is cost savings. Labour costs can add up quickly, and doing it yourself might cut the total expense in half, especially on small-scale projects.
2. Full Creative Control
DIY gives you the freedom to plan and execute the project exactly how you like. You can choose your materials, set your timeline, and experiment with custom finishes or layouts.
3. Build Your Skills
Taking on a timber veneer project is a great way to improve your carpentry or renovation know-how. You'll learn about surface prep, adhesive use, trimming, and finishing—skills that will serve you in future builds.
4. Learning Resources at Your Fingertips
With a wealth of online tutorials, walkthroughs, and tips available, it’s easier than ever to pick up the basics of timber veneering—even if you’re starting from scratch.
The Challenges of Going DIY
Precision Is Everything
Veneer is unforgiving. If you misalign a sheet or get bubbles under the surface, it can be hard to fix without starting over.
Tools Can Add Up
Quality installation often requires specialised tools like a veneer saw, edge trimmer, roller, and high-performance adhesives.
It Can Be Time-Consuming
Even a simple job can take days if you’re new to it. That’s fine if you have time on your side—but not ideal if you’re working to a tight schedule.
When DIY Might Work Best
- You're tackling a small project (like a bedside table or home office shelf)
- You’ve got basic carpentry or renovation experience
- You’re confident using tools and following instructions
- Your timeline is flexible and you're happy to learn as you go
When to Bring in a Pro
- You're working on high-traffic or high-visibility areas (like a kitchen or commercial space)
- The project includes curves, detailed patterns, or large surface areas
- You’re using rare or exotic veneer species
- You want a top-tier finish without margin for error
Quick Tips for a Great Veneer Outcome (DIY or Pro)
- Choose the Right Veneer
Each timber species has unique grains, tones, and performance characteristics. Match your veneer to the function and aesthetic of the space, and opt for sustainably sourced options where possible. - Prepare Surfaces Properly
Clean, smooth, dust-free surfaces are essential for strong adhesion. Skipping prep increases the risk of bubbling or peeling. - Use the Right Adhesive
Heat-activated and contact adhesives are common—just be sure to follow the manufacturer's recommendations. - Practice First
If you’re new to working with veneer, trial your technique on scrap material first. - Seal It Right
Use a high-quality lacquer or sealant that protects the veneer while enhancing the natural timber grain.
Cost Comparison: DIY vs. Professional
DIY might look cheaper at the outset, but small mistakes can turn costly fast, especially if you need to re-do parts of the job or replace damaged materials. For larger or premium projects, hiring a pro may deliver better long-term value.
Wrapping It Up: Make the Choice That Works for You
Timber veneer is a smart, sustainable solution for adding warmth and style to any space, but the success of your project hinges on the quality of the installation.
DIY might be the way to go for smaller jobs or confident hands-on renovators looking to save a few dollars. But for large-scale projects, tricky layouts, or when perfection matters, calling in a pro is often the smarter move.
Whichever path you choose, make sure you’re using high-quality veneer products from trusted suppliers, like those available at Bord Products. Need help planning your next project? Get in touch with our team or check out our resources hub for expert tips, product guidance, and inspiration.


Explore Bord Products
Our Melbourne facility produces hundreds of veneer and laminate panels daily, giving us total control over timeframes and quality.

Visit Our Showroom
Get expert advice on material selection for your project and see our entire range of veneers and laminates in person.

Specify Sustainable
We support sustainable forest management in Australia and across the globe. Look out for certified products on our website or speak to us.