

Understanding Timber Veneers
Timber veneer is a thin layer of real wood applied over a substrate, offering the appearance of solid wood while being cost-effective and environmentally friendly. Since veneer is genuine wood, it can be stained similarly to solid timber, but its thinness requires careful handling to avoid damage.
Preparing the Veneer Surface
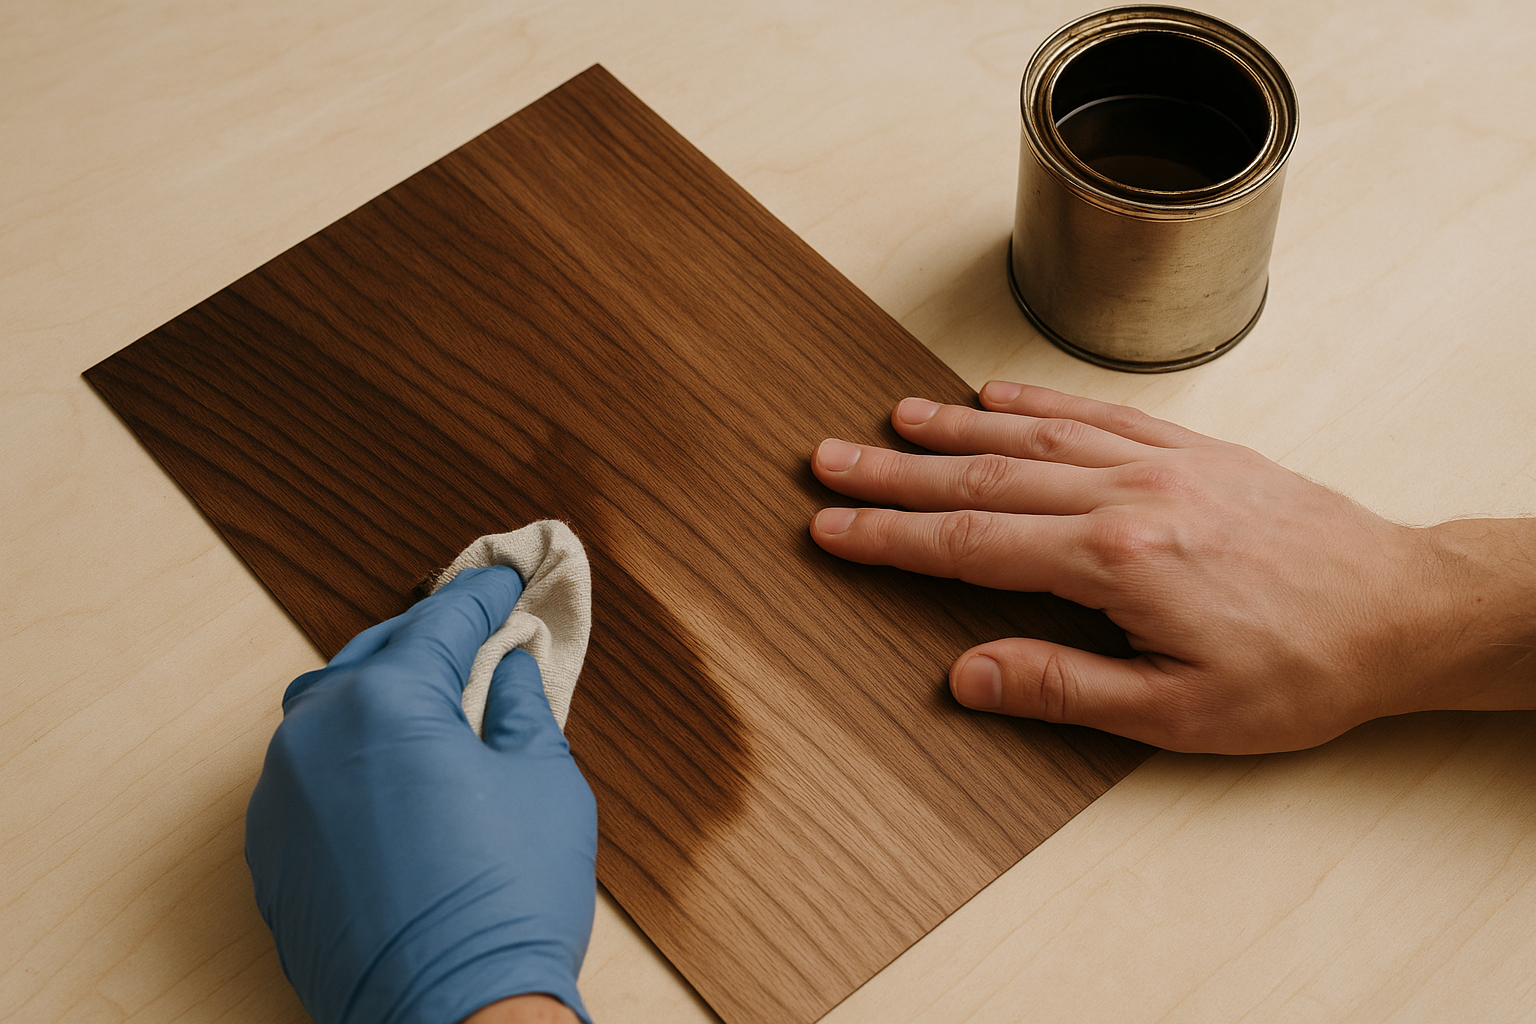
Cleaning
Begin by thoroughly cleaning the veneer surface to remove any dirt, dust, or grease that could interfere with stain absorption. A damp cloth can be used for this purpose.
Sanding
Lightly sand the surface with fine-grit sandpaper (180-220 grit) to smooth any imperfections and open up the wood pores, facilitating better stain penetration. Always sand in the direction of the wood grain to prevent scratches.
Selecting the Appropriate Stain
Choose a stain compatible with your veneer type and desired finish. Testing the stain on a scrap piece or an inconspicuous area of the veneer is advisable to ensure satisfaction with the colour and appearance.
Applying a Wood Conditioner (Optional)
For porous or uneven-grained veneers, applying a wood conditioner before staining can promote uniform colour absorption and prevent blotchiness.
Staining the Veneer
Application
Using a soft, lint-free cloth, sponge, or high-quality brush, apply the stain evenly across the veneer surface, following the direction of the wood grain.
Wiping Excess
After application, promptly wipe off any excess stain with a clean cloth to prevent uneven drying and ensure a consistent finish.
Multiple Coats
If a darker shade is desired, apply additional coats, allowing each layer to dry completely before proceeding.
Sealing and Protecting the Veneer
Once the stain has dried thoroughly, apply a clear protective finish such as polyurethane, lacquer, or an oil-based product to enhance durability and protect the veneer from damage. For a natural and long-lasting finish, consider using Osmo Timber Oil, which is designed to nourish and protect wood while enhancing its beauty. Our collection of Osmo Timber Oil offers a range of finishes to suit different wood types and design preferences.
Final Touches
After the protective finish has cured, lightly sand the surface with very fine-grit sandpaper (320-grit or higher) to remove any imperfections. Clean the surface to eliminate dust, and apply a final coat of the protective finish if necessary to achieve a smooth, flawless result.
Mastering the Art of Staining Timber Veneers
Achieving a perfect finish on timber veneers requires attention to detail and adherence to proper techniques. By thoroughly preparing the surface, selecting suitable staining products, and applying them carefully, you can enhance the natural beauty of the veneer, resulting in a durable and aesthetically pleasing finish that elevates your woodworking projects. Don't forget to explore our Osmo Timber Oil collection for premium wood protection solutions.


Explore Bord Products
Our Melbourne facility produces hundreds of veneer and laminate panels daily, giving us total control over timeframes and quality.

Visit Our Showroom
Get expert advice on material selection for your project and see our entire range of veneers and laminates in person.

Specify Sustainable
We support sustainable forest management in Australia and across the globe. Look out for certified products on our website or speak to us.